 2026-09-01
The process of LED screen setup can seem intimidating at first glance. It looks like a LED technician needs to master a wide range of skills: calculating screen specifications, rigging heavy panels, connecting complex cables, performing calibration and more. For many newcomers, this perception creates a barrier: “It seems so complicated! Will I ever be able to learn all of this?”
The good news is that LED screen setup is actually a logical, step-by-step process. Like any technical skill, it becomes manageable when you break it down into clear, sequential stages. You do not need to know everything at once. You just need to follow the right order.
This article provides a clear, practical introduction to the entire LED video screen setup process. Whether you are an event professional, a rental company technician, or someone looking to enter the display LED screen industry, this guide will give you the confidence to approach your first big LED screen installation.
Before you do anything else, you need to select the right LED display panels for your specific use case. This decision affects everything that follows, from installation method to wiring and calibration.
Indoor or outdoor?
Indoor screens require lower brightness (600 to 1,500 nits) and lower IP ratings (IP30 or IP40). Outdoor screens need high brightness (4,000+ nits) and proper weather protection (IP65 or higher).
What is the viewing distance?
Choose pixel pitch based on how far your audience will be. Smaller pixel pitch (e.g., P2–P3) for close viewing; larger pitch (e.g., P4–P6) for long-distance viewing.
Fixed or rental?
Fixed installations prioritize longevity; rental applications prioritize lightweight design and fast assembly.
Once you have selected your panels, you need to calculate the resolution of your LED video wall. This determines how many pixels your screen will have and ensures your content will display correctly.
Two common calculation methods
Method 1: Size and Pixel Pitch:
Vertical Pixels = Screen Height (mm) ÷ Pixel Pitch (mm)
Example: A 4000mm wide × 2000mm high screen with P2 panels gives you 2000 × 1000 pixels.
Method 2: Cabinet Assembly:
Total Vertical Resolution = Cabinet Vertical Pixels × Number of Cabinets per Column
For a detailed explanation, refer to our dedicated article on LED Display Resolution Calculation.
|
Installation Type |
Best For |
Key Consideration |
|
Suspended (Hanging) |
Concerts, festivals, arenas |
Requires overhead rigging and structural assessment |
|
Floor-Supported (Stacking) |
Trade shows, outdoor events, corporate |
Fast setup, no rigging needed |
| Fixed (Wall-Mounted) |
Permanent installations |
Requires flat, structural wall |
Use a spirit level and laser marking tool to accurately measure the edges of the screen and mark the centerline.
Begin assembly from the bottom-left corner of the screen and work upward and to the right.
Power connections:
Use a stable power supply that meets the screen's power requirements.
Balance loads across circuits to avoid tripping breakers.
For outdoor installations, use weatherproof connectors.
Data connections:
Connect the sending card (controller) to the receiving cards inside each cabinet using CAT6 Ethernet cables;
Connect the control computer to the sending card via USB, HDMI, or DVI;
For large installations, plan your cable routing and port grouping in advance – avoid forcing mid-row cable runs.
Order matters: Connect HDMI cables before powering up the system. Reversing this order can cause handshake issues.
Configuration steps:
Install control software;
Configure display parameters; Enter screen dimensions, resolution, and pixel pitch;
Set IP addresses and communication; Ensure the control computer can communicate with the sending card;
Load receiving card parameters; Upload the configuration file (.rcfgx or .ncp) provided with your hardware.
Calibration steps:
Calibration ensures uniform brightness and color across the entire LED video screen.
Use a colorimeter or spectroradiometer to measure color and brightness;
Balance gamma, white point, and grayscale across all cabinets;
Test checklist:
Display test patterns: color bars, grayscale gradients, and grid patterns;
Verify image quality, color uniformity, and brightness consistency;
Test with real content: videos, images, and text;
Check from multiple viewing angles and distances;
Confirm that the refresh rate is stable (no flickering);
Document all settings and calibration data for future reference
Success indicator: A clean and completely whole image across the entire screen without seams, color differences, or flickering.
By now, you can see that LED screen setup is not magic; it is a structured process that follows a clear sequence.
Each step builds on the previous one. As long as you are patient, methodical, and willing to learn, you can absolutely master LED video screen setup.
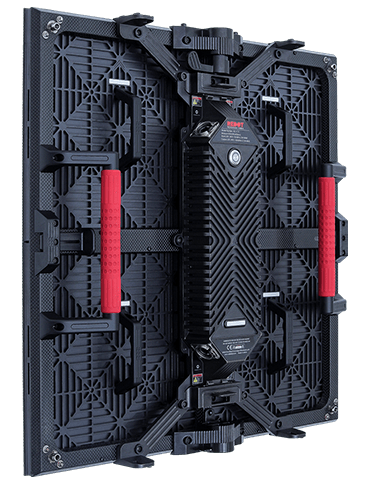
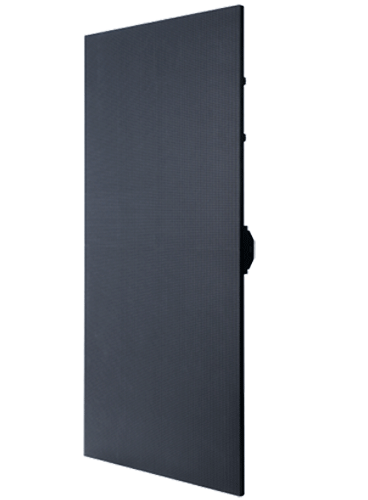
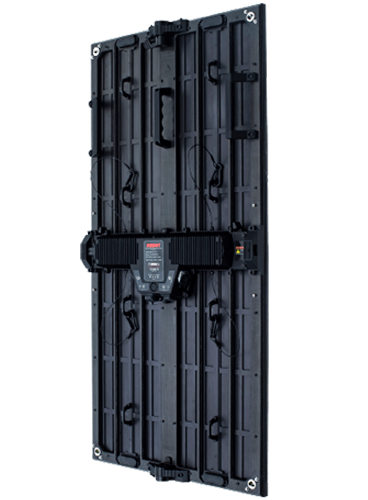
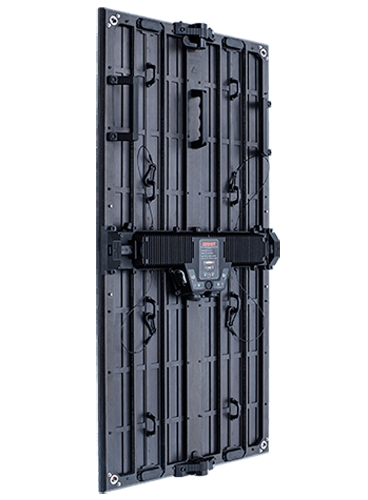
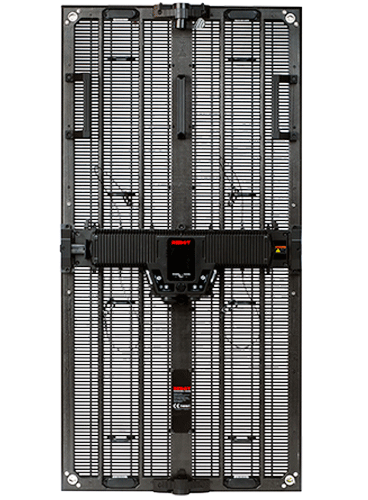
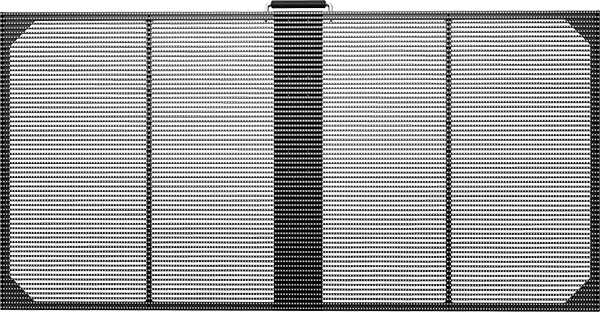
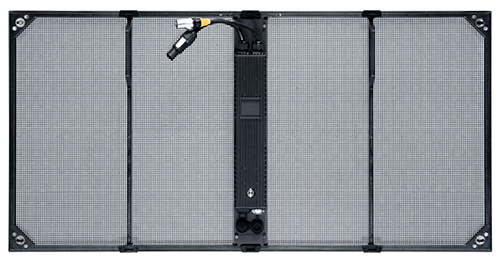
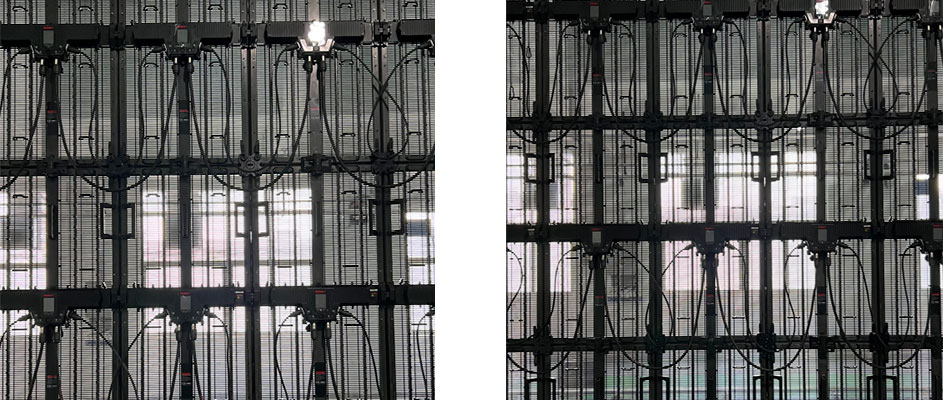
The RC-iHolo series features a single-molded carbon fiber frame and perforated PCB design, delivering exceptional strength while staying incredibly light.
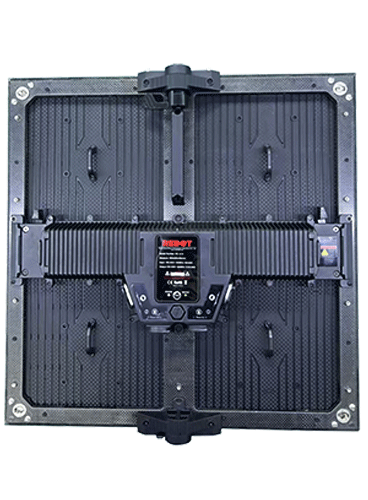
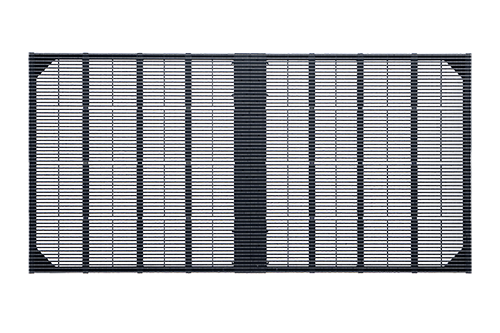
The RC-M6.9 is a popular outdoor mesh transparent display featuring a fully sheet-formed carbon frame. Each cabinet weighs just 6.92kg, significantly lighter than traditional outdoor panels.
The best way to understand how easy LED screen setup can be is to see it in action.