 2026-08-04
The professional display sector, specifically the LED video wall market, is expanding at an unprecedented pace. From digital out-of-home advertising and concert stages to corporate lobbies and retail environments, LED panels display solutions are everywhere. Yet for newcomers, breaking into this field can feel like an uphill battle.
Why? Because this line of work involves far more than just selling hardware. It demands knowledge of LED display installation, control system operation, on-site troubleshooting, different types of LED display, and system commissioning. What’s more, the visual display technology space often expects you to figure things out on your own.
YouTube tutorials and online articles can give you a conceptual understanding, but they cannot replace the hands-on experience of configuring a real system, troubleshooting unexpected issues, and learning the nuances of different hardware and software platforms.
So, what should a beginner do? How can you prepare yourself to enter the LED solutions field when no experienced mentor is available to guide you?
This article provides a step-by-step roadmap for beginners. We will cover the essential knowledge areas, the practical skills you need to develop, and the resources available to help you build competence and confidence.
Before you ever touch a piece of hardware, you need to understand how an LED video wall system is designed. This is the foundation upon which everything else is built.
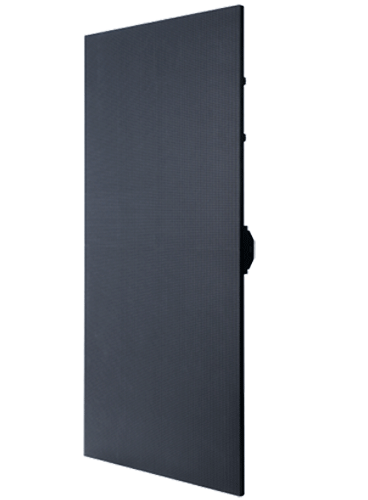
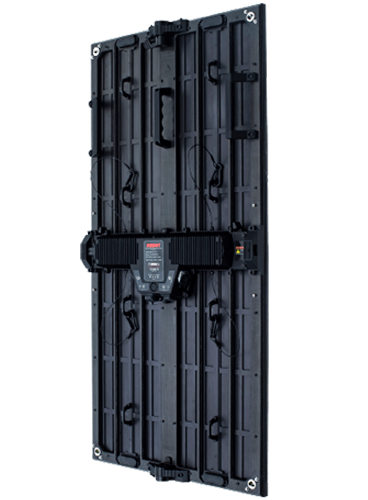
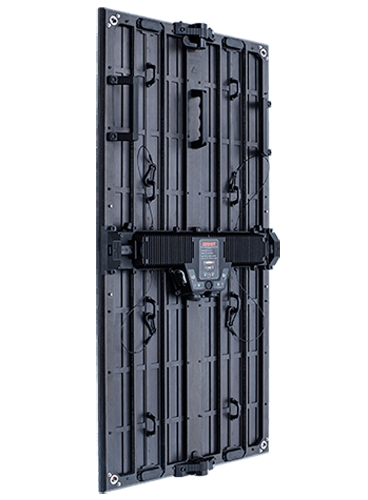
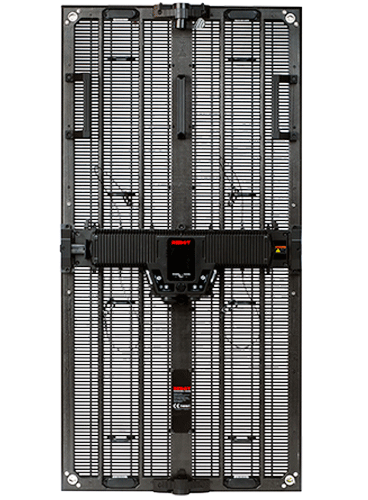
An LED display is not a single unit; it is an assembly of multiple LED display modules and cabinets. Understanding how these pieces fit together is essential.
Key questions you need to answer for any project:
What is the total resolution of the screen?
Pixel pitch: the distance between the center of one pixel and the center of the next. It is arguably the most important specification in digital display design.
The rule is simple:
Larger pixel pitch (e.g., 3.9mm to 6.9mm) = lower resolution, suitable for long-distance viewing
The controller, often called the sender card, is the brain of the LED video wall system. Its job is to take video signals from a computer or media player, convert the signal format, and transmit it to the receiving cards that control each cabinet.
When planning your system, you need to determine:
What is the maximum loading capacity of the controller?
How many pixels can it handle?
How many Ethernet ports (data outputs) are needed?How will data be distributed across the cabinets?
Every LED display system follows a consistent signal flow:
Upstream Signal Source → Sender Card → Receiving Cards → LED Modules
The standard hardware connection requires a USB cable for communication between the control PC and the sending card, and CAT6 Ethernet cables connecting the sending card to the receiving cards within the LED cabinets.
Understanding this flow is critical for LED display installation and troubleshooting. If something goes wrong, you need to know where to look first.
This is where the real learning begins. Colorlight and NovaStar are the two professional players in the LED display control system market. Getting hands-on experience with both is essential for anyone serious about working in the pro AV sector.
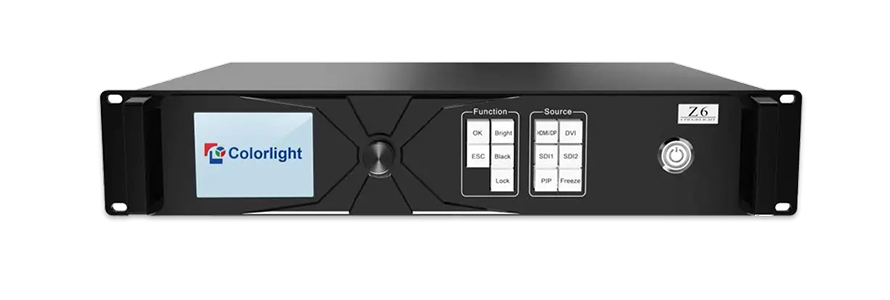
Colorlight offers strong controlling capabilities with their LEDVISION software.
Software Installation: Download the LEDVISION software from Colorlight’s official website.
Screen Settings: Click Control → LED Screen Settings, enter the authorized password (168), and access the configuration interface.
Receiver Detection: Click Sending Device → Sender → Detect Senders → Detect Receivers → Detect All Receivers to map the entire system.
Parameter Configuration: Configure key parameters including refresh rate (commonly 1920Hz or 3840Hz), grayscale depth (14-bit or 16-bit), brightness, and color uniformity compensation.
The Colorlight X20, for example, supports 4K resolution inputs, seamless video source switching, and up to 6 windows with freely adjustable positions and sizes.
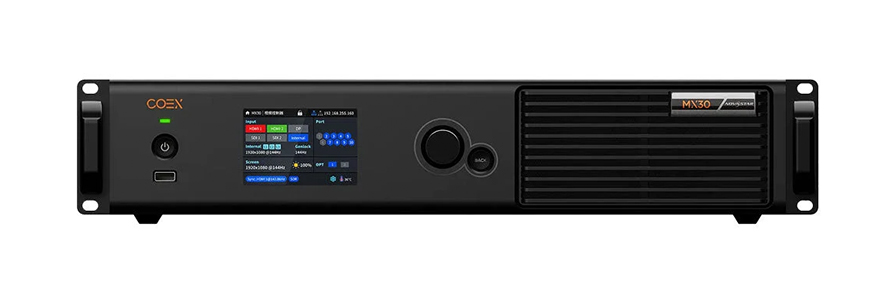
NovaStar is widely regarded as the industry popular choice for LED display control. Their software suite includes NovaLCT (for configuration) and SmartLCT (for screen setup).
Hardware Connection: Connect the control PC to the sending card via USB, and connect the sending card to receiving cards using CAT6 Ethernet cables.
Software Login: Open NovaLCT, navigate to the “User” menu, and select “Synchronous System User Login” to unlock the screen configuration menus.
Sending Card Configuration: Define the resolution of your sending card to match your video source (e.g., 1920×1080). If the resolution is mismatched, the image may appear stretched, cropped, or fail to display entirely.
Receiving Card Parameter Setup: Load the configuration file (.rcfgx or .ncp) provided with your hardware. This file contains the exact timing and brightness parameters for your specific LEDs.
Screen Connection and Mapping: This is the most critical phase. Define the grid size (number of columns and rows of cabinets) and digitally “trace” the path of the Ethernet cable from the sending card through each cabinet. A mistake in the mapping order will result in a scrambled image.
Save to Flash: Settings sent to the hardware are often stored only in volatile memory (RAM). If power is cycled, the configuration will be lost. Always navigate to the “Save” button to write the parameters to permanent storage.
LED display commissioning is the process of configuring, checking, and validating the entire system so it performs predictably with your content. A good commissioning workflow is repeatable and systematic.
Before you arrive on site:
4. Check structural support for the installation method (ground support, wall-mounted, or flown)
1. Physical Installation
For ground support installations, assemble the floor stand first, then install cabinets, and finally install LED modules
2. Power and Connectivity
Verify earth continuity (typically <0.1Ω)
3. System Configuration
Set display parameters: brightness, contrast, color, etc.
4. Calibration
No visible seams or color differences between modules
5. Testing and Validation
Mismatched resolution: Stretched, cropped, or missing image
While self-study is valuable, structured training accelerates the learning curve dramatically. Several options are available:
A lot of LED display manufacturers provides Advanced Video Wall Design & Configuration Courses covering different types of LED display fundamentals, signal flow, and configuration techniques.
Learning from Experienced Rental Companies
If you have no prior LED display hire or LED wall rental experience, consider this practical approach: rent from experienced event rental companies first. Work alongside their team during setup, show, and strike. Observe how they handle power, cabling, troubleshooting, and client communication. This is one of the fastest ways to learn the practical realities of modular LED display operations.
Cables (CAT6 Ethernet, USB, HDMI, DVI, power cables)
VMP: NovaStar’s video processing software
Enter screen dimensions (width and height)
Calculate total pixels and cabinet requirements
Entering the professional display sector without a mentor is challenging, but it is far from impossible.